30 January 2025
Who doesn’t love the serenity and awe-inspiring beauty of a waterfall? These natural masterpieces have a magical way of captivating our hearts. But let’s be real—photographing a waterfall and truly doing it justice can be a bit tricky. Maybe you’ve found yourself staring at your picture, thinking, “It looked so much better in person!” You’re not alone. However, fear not—I’m here to help.
If you’ve ever wondered how professional photographers nail those jaw-dropping waterfall shots, you’ve come to the right place. In this guide, I’ll share some tried-and-true tips to help you capture waterfall photos that are just as mesmerizing as the real thing. So grab your gear, and let’s dive in! 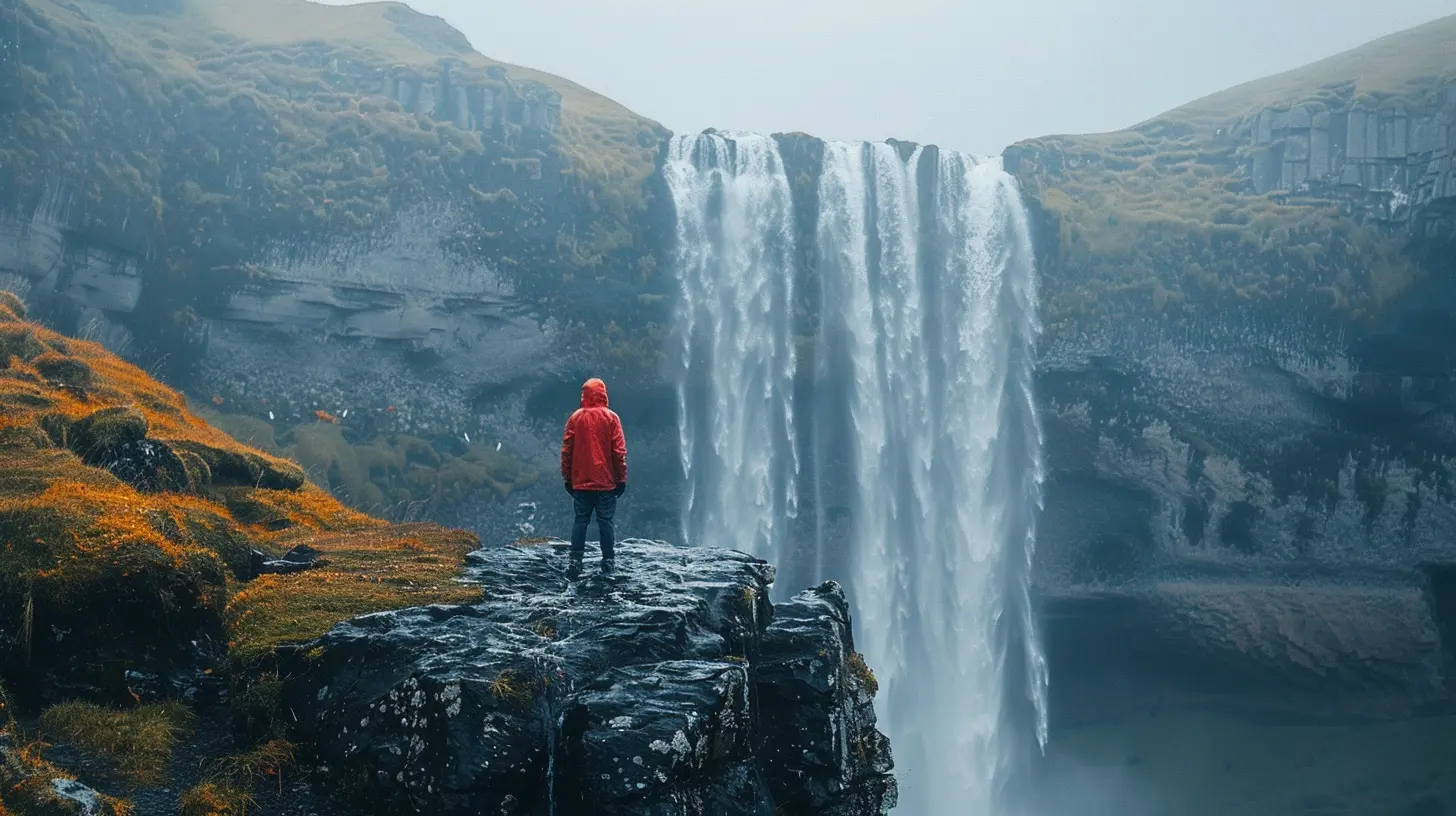
Gear Up for Success
1. Bring the Right Camera and Lens
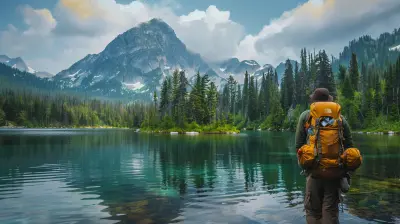
You don’t need the fanciest camera in the world to get great shots, but having the right tools makes all the difference. A DSLR or mirrorless camera is your best friend here because it gives you greater control over settings. Pair that with a wide-angle or telephoto lens, depending on the vibe you’re going for.Want to capture the entire scene, including the surrounding landscape? A wide-angle lens will be your go-to. Looking to zoom in and highlight the cascading water? That’s when a telephoto lens comes in handy.
> Pro Tip: If you’re using a smartphone, invest in clip-on lenses that can give your camera that much-needed versatility.
2. Pack a Sturdy Tripod
Let’s talk about one of the most overlooked pieces of gear—a tripod. Why’s it so important? Because shooting waterfalls often involves long exposures, and even the steadiest hands can’t keep your camera perfectly still during those shots. A good tripod ensures your photos are sharp and free of blur.Go for something sturdy yet lightweight (you’ll thank yourself when hiking to those hidden falls). Bonus points if it has adjustable legs for uneven terrain!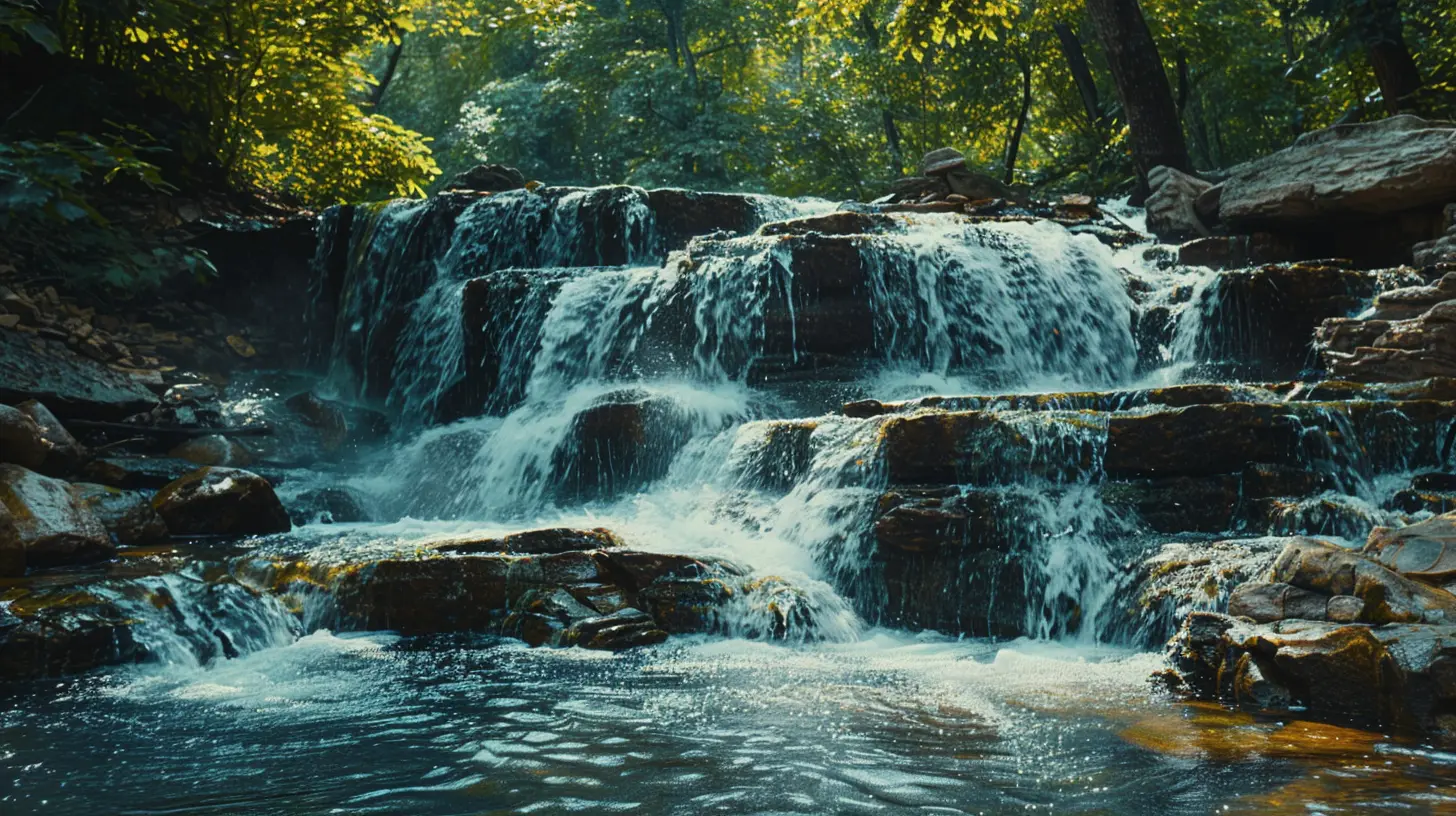
Timing Is Everything
3. Pick the Right Time of Day
Lighting can make or break your waterfall photo. Harsh midday sunlight? It’s your worst enemy. The bright light creates unflattering shadows and overexposes the water, washing out its beautiful details.Instead, aim for the “golden hours”—right after sunrise or just before sunset. During these times, the soft light adds a warm, magical touch to your shots. If you’re feeling adventurous, try shooting on an overcast day. The diffused light eliminates harsh shadows and brings out the lush greens around the fall.
4. Consider the Season
Waterfalls change with the seasons, and so should your timing. Spring brings roaring cascades from melting snow, while summer often offers a gentler trickle (especially in dry regions). Autumn adds vibrant foliage into the mix, and winter? Frozen waterfalls are a dream for the creative photographer!> Pro Tip: Check online or ask locals about the water flow before you go. You don’t want to hike all the way to find... well, nothing. 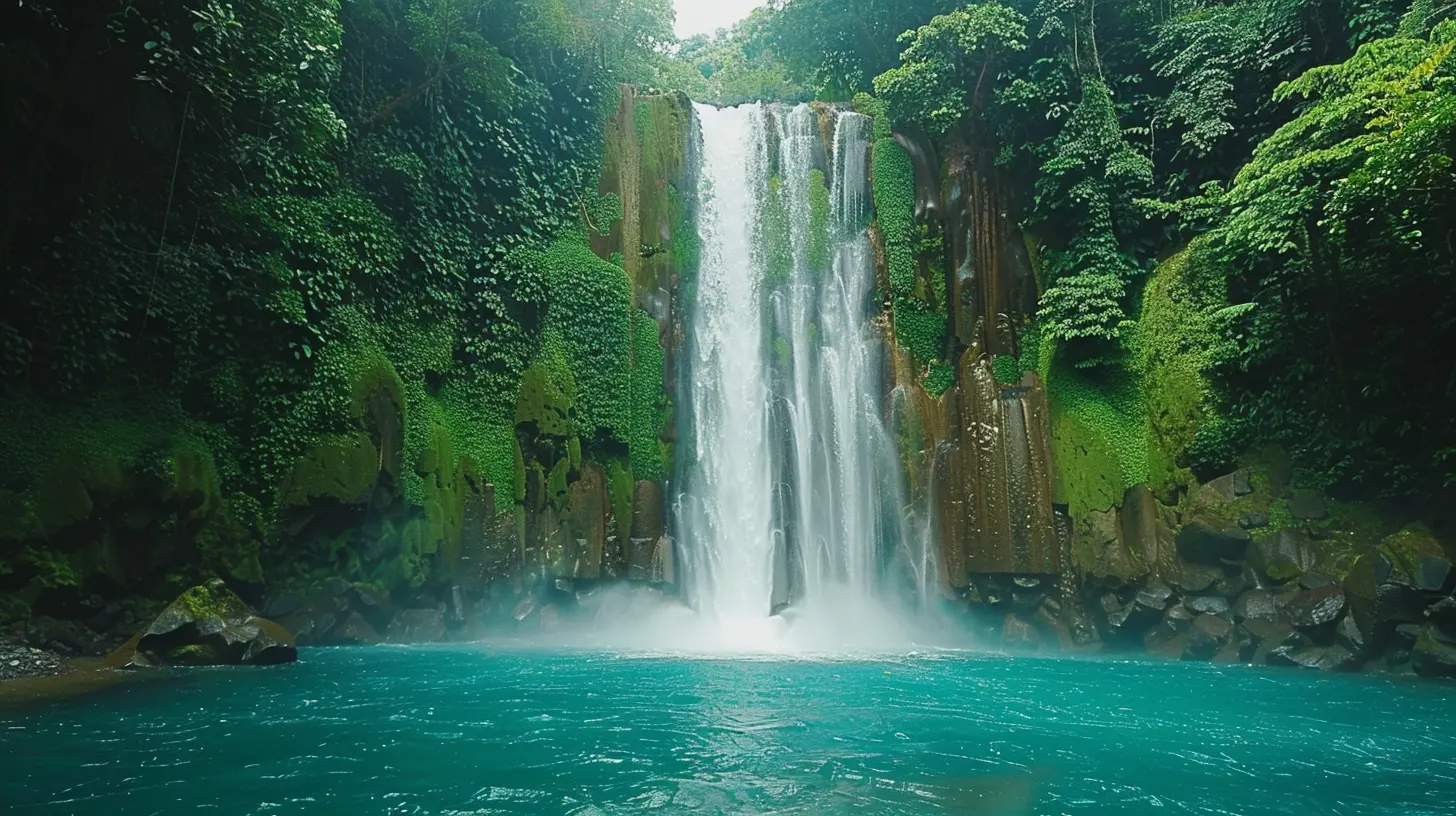
Master Your Camera Settings
5. Use Long Exposure for That Silky Effect
Ever wondered how photographers get that dreamy, silky water effect? The secret lies in long exposure photography. By slowing down your shutter speed, you capture the motion of water over time, creating that smooth, flowing look.Set your camera to manual or shutter priority mode and start with a shutter speed of 1/4 to 2 seconds. Adjust as needed to get the effect you’re looking for.
But here’s the catch: the longer the exposure, the more light hits your camera sensor. That’s where the next tip comes into play.
6. Slap on an ND Filter
Enter the neutral density (ND) filter—the ultimate lifesaver for long exposure shots in bright conditions. Think of it as sunglasses for your camera. It blocks excess light so you can use slower shutter speeds without overexposing your photo.ND filters come in varying strengths, so pick one that suits the lighting conditions of your shoot.
7. Tweak ISO, Aperture, and Focus
- ISO: Keep it low (like ISO 100 or 200) to minimize noise in your photo.- Aperture: Start with a smaller aperture (higher f-number) to keep everything from the foreground to the background in focus. Something around f/8 to f/16 usually works well.
- Focus: Use manual focus for precision, especially if your camera struggles to lock focus on flowing water.
> Pro Tip: Use your camera’s histogram to check exposure. If it’s too far to the right, your highlights might be blown out.
Composition Is Key
8. Find an Interesting Angle
Shooting straight-on is good, but to make your photo truly stand out, experiment with different perspectives. Crouch down low, find a higher vantage point, or even shoot through nearby foliage for an artistic frame.Don’t be afraid to step off the beaten path (safely, of course!). Sometimes the best view isn’t from the designated lookout point.
9. Incorporate Foreground Elements
Adding something like rocks, flowers, or a fallen log in the foreground can give your photo depth and dimension. It also helps guide the viewer’s eye through the image.> Think of your photo like a story. The foreground is your introduction, the waterfall is your main event, and the sky or background is your conclusion.
10. Play with Leading Lines
Use elements like rivers, tree trunks, or even pathways to draw the viewer’s eye toward the waterfall. These natural “leading lines” add intrigue and make your photo more engaging.Post-Processing Like a Pro
11. Tweak Colors and Contrast
Even the best photographers enhance their photos in post-processing. Tools like Adobe Lightroom or Photoshop can help you adjust colors, contrast, and sharpness to make your image pop.Bring out the greens of the trees, the blues of the water, and the whites of the cascading stream. Just don’t overdo it—you want your photo to look natural, not like a painting.
12. Remove Distractions
Sometimes, you’ll capture distractions like stray branches or random tourists in your shot. Use the clone tool to remove them and keep the focus on the star of the show: the waterfall.Don’t Forget to Enjoy the Moment
Here’s the thing: Waterfalls are mesmerizing, and it’s easy to get caught up in photographing them. But don’t forget to pause, take a deep breath, and soak in the beauty around you. After all, nothing beats being there in person.Safety Tips for Waterfall Photography
Before we wrap up, let’s talk safety. Shooting waterfalls often means trekking through wet and slippery terrain. Wear sturdy, waterproof boots with good grip, and be mindful of where you step. Trust me, no photo is worth a twisted ankle or worse.Also, keep your gear safe from water spray by using a rain cover or even just a plastic bag. And if you’re wading into water for the perfect angle, make sure it’s shallow and safe to do so.
Final Thoughts
Capturing the perfect waterfall photo isn’t just about having the right gear or settings—it’s about understanding and appreciating the beauty of nature. Follow these tips, and you’ll not only improve your photography skills but also connect with the essence of the scene you’re capturing.Are you ready to head out and find your next waterfall to shoot? I hope you’re feeling inspired and confident. Now, go out there and make some magic!


Olivia Butler
Great tips! Can't wait to try these for my next waterfall adventure. Thanks!
March 26, 2025 at 5:06 PM